
Loading…
Loading…
In this lesson, students will create and explore contour maps within the world of Minecraft.
Welcome to this Minecraft: Education Edition lesson! Before you begin, take a few moments to let us know your thoughts or feedback on how we can improve this lesson in order to better enhance the learning experience that is delivered in your classroom!
Click here or follow the form below to complete the feedback survey once you've completed this lesson. Thank you!
Click and watch this teacher preparation video to help you understand how to teach this lesson. Here is a YouTube link of the teacher video for your reference: https://youtu.be/tlMPfFhsOgo
Exploring Contour Maps (Teacher Video) Logics Academy (720p, h264, youtube)
Select, organize and represent data and information in different forms, including by constructing special purpose maps that conform to cartographic conventions, using digital and spatial technologies as appropriate.
Analyze maps and other geographical data and information using digital and spatial technologies as appropriate, to develop identifications, descriptions, explanations and conclusions that use geographical terminology.
Communication
Collaboration
Critical thinking
Which way would you climb a mountain?
How would you know which path to plot when looking at a map?
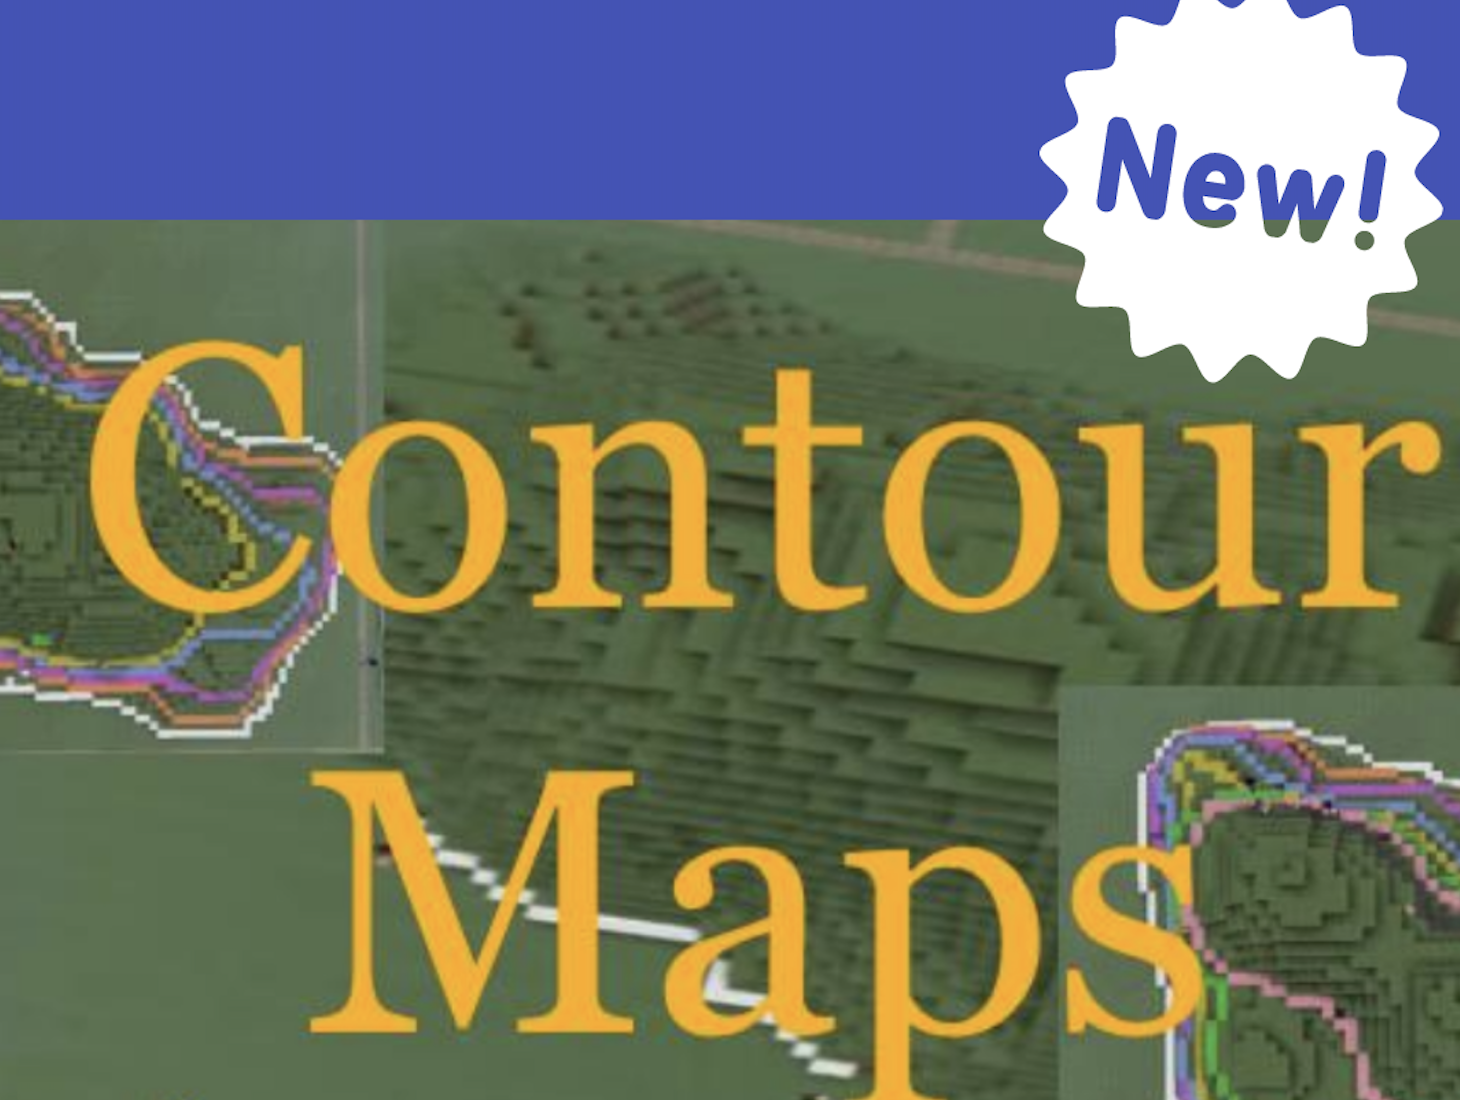
Contour maps are designed to help people understand the topography (the physical height changes) of an area. In this lesson students will be challenged to create a topographical (contour) map of a mountain in Minecraft, create a mountain from a topographical map and use the knowledge gained from these two activities to determine which path you would take up a hypothetical mountain and explain why you would take that path.
There is a complete lesson plan/outline in the "External References" section but below is the quick version.
Pre lesson work: This world has 3 different identical mountains to create contour maps from, so you can group them into 3 or less groups to complete the activity. All students spawn into a starting location, there is a demo ‘mound’ to show students the task in front of them. When all students are clear on their task, students can teleport to their group location by walking through the ‘group 1, 2 or 3’ doors. As an indication, it took my 20 students just over 30 minutes to complete Activity 1: Make a Contour Map and a similar time for Activity 2: Build me a Mountain.
Activity 1: Make a Contour Map Students are to create the contour map from the mountain. If your class is all in one group, I recommend placing your character top and centre of their mountain looking directly down and projecting this onto a screen so students can see the contour map as it is being created.
Activity 2: Build me a Mountain The second activity gets students to create an approximation of the mountain from the contour map itself. You can get students here by teleporting all students to the Activity 2 staging area, use the teacher control platform to support you, it can be found by typing /tp 264 224 -1452 in the game.
Post lesson work: Draw a random topographical map on the classroom board, ask students to think about which path they would take up the mountain, and why they would go that way. Ask students to share their path, and reasoning with the class. Make sure to discuss with students why the mountain they created in activity 2 is only ever going to be an approximation, make it clear that we only know the contour lines, that anything could be happening between them in terms of the slope.
Students will be able to explain what path they would take up a ‘random’ topographical map based on their experience in Minecraft.
Students will be able to create, with reasonable accuracy, a contour map of a given mountain.
Students will be able to create an approximation of the mountain from a contour map.
Check out the Tips & Tricks video playlist that will help you and your students better use Minecraft: Education Edition in the classroom:
https://youtube.com/playlist?list=PLkh9rrdH-ARER03ojhFYtmoFDVuACYJLa
More videos added periodically so make sure you check often for more content!
Click and watch the student pause and play video with your class, pausing and playing as needed. This will help your students understand how to navigate through this lesson and Minecraft world and complete the activities located within them. Enjoy!
Check out the YouTube link for your reference: https://youtu.be/B76A1nSNsK8
Exploring Contour Maps (Student Video) Logics Academy (720p, h264, youtube)
Identify various techniques used in a particular map, e.g., colour, shading, legend, labels, direction indicators, scale, symbols, or consider a list of techniques identified by the teacher
indicate the type of information each technique communicates
Identify needs and opportunities for designing, through exploration
Generate ideas from their experiences and interests
Add to others’ ideas
Choose an idea to pursue.
Making
Choose tools and materials
Make a product using known procedures or through modelling of others
Use trial and error to make changes, solve problems, or incorporate new ideas from self or others
Sharing
Decide on how and with whom to share their product
Demonstrate their product, tell the story of designing and making their product, and explain how their product contributes to the individual, family, community, and/or environment
Use personal preferences to evaluate the success of their design solutions
Reflect on their ability to work effectively both as individuals and collaboratively in a group
Use materials, tools, and technologies in a safe manner in both physical and digital environments
Develop their skills and add new ones through play and collaborative work
Explore the use of simple, available tools and technologies to extend their capabilities
Curricular Competencies
Develop mental math strategies and abilities to make sense of quantities
Use technology to explore mathematics
Understanding and solving
Develop, demonstrate, and apply mathematical understanding through play, inquiry, and problem solving
Content
Students are expected to know the following:
Identify various techniques used in a particular map, e.g., colour, shading, legend, labels, direction indicators, scale, symbols, or consider a list of techniques identified by the teacher
indicate the type of information each technique communicates
Identify the influence of physical features such as water bodies, topography, and natural resources on the location of people in Pacific and northern Canada (including the traditional homelands of indigenous peoples) and in a selection of Pacific Rim and circumpolar countries
Construct graphical displays (e.g., drawings, charts, maps, tables, and graphs)
Interpret maps, graphs and statistics across spatial and temporal scales
use a topographical map of his/her area to locate a physical feature and a cultural feature using a six-figure co-ordinate system
use an aerial photo or topographic map to describe the typical landscape in a selected area
use maps, globes, pictures, models, and technology to represent and describe physical and human systems
use maps, globes, pictures, models, and technology to represent and describe physical and human systems
analyze an air photo and/or topographic map of a region of Canada and identify processes of erosion and their effects. They may use the following chart to record their findings.
Interpret simple maps
Identify the influence of physical features such as water bodies, topography, and natural resources on the location of people in Pacific and northern Canada (including the traditional homelands of indigenous peoples) and in a selection of Pacific Rim and circumpolar countries
Demonstrate the ability to extract information from and analyze topographical maps
Use colour and contour lines to show elevation
value maps, globes, and other geographic representations as valuable sources of information and tools for learning
Use various maps to access different types of information, including population, political regions, natural resources, vegetation, and topography (surface features, both physical and human- made) of a place
given an air photo and/or a topographic map, identify the life cycle stage of a river and explain their decision